Choose your design
Browse millions of images in our library or upload your own photo. Free designs, no subscription.
Open the gallery
Custom Wallpaper, Made Simple
From browsing our library of millions of designs to peeling back the last panel — here's everything you need to bring your walls to life with Pickawall.
Five simple steps
Choose a design, customise it for your wall, place your order — and we'll print and ship a peel-and-stick mural ready to install at home.
Browse millions of images in our library or upload your own photo. Free designs, no subscription.
Open the galleryEnter your wall dimensions in centimetres, crop and scale, then preview the design on a real-room mockup.
Try the design studioOrder online in minutes. Free shipping Australia-wide, with a free sample pack option if you'd like to feel the fabric first.
Printed in Australia on our exclusive self-adhesive fabric using odourless, toxin-free inks — then cut into labelled panels and dispatched.
Follow our step-by-step guide. The fabric is repositionable, removable and reusable — so you can take your time getting it right.
Jump to install guideAbout Pickawall
Australia's No.1 custom wall wallpaper
Launched in 2012, Pickawall has been the leader in large-format printing in Australia for more than a decade. Our interactive website lets you fully customise any photo or design to suit your décor and space — opening up a whole world of possibilities where you are the artist and designer, and your blank wall is the canvas.
We print our murals using the latest in safe ink technology — odourless and free of toxins for the safety of your family and the environment. Our exclusive self-adhesive fabric is opaque, breathable and easy to put up, easy to take down, reposition and reuse without damaging your walls.
Want to feel it for yourself? Order a free sample pack and we'll send it out for you to test.
Install guide
Two people make it easier, but you can do it solo. Allow about 20–30 minutes per panel for your first wall — most of that is taking your time, not actual work. Before you start, give yourself a clear floor, a clean wall and a step ladder.
Read through the eight steps below before you begin so you know what's coming on each panel.
Step-by-step install guide
Take your time, work top-to-bottom, and remember — the fabric is forgiving. Lift, reposition and re-apply as often as you need.
Preparation
Inspect for defects. Remove picture hooks and switch plates. Sand back flakey paint, patch, and let it dry.
Order matters
Begin with the panel labelled "1" on the bottom tag, then work through the labels in order.
Get ready to stick
Peel the backing roughly 200 mm down from the top of the panel.
Position
Line up the top edge with your ceiling or cornice. Allow 10–15 mm of excess if the wall isn't square.
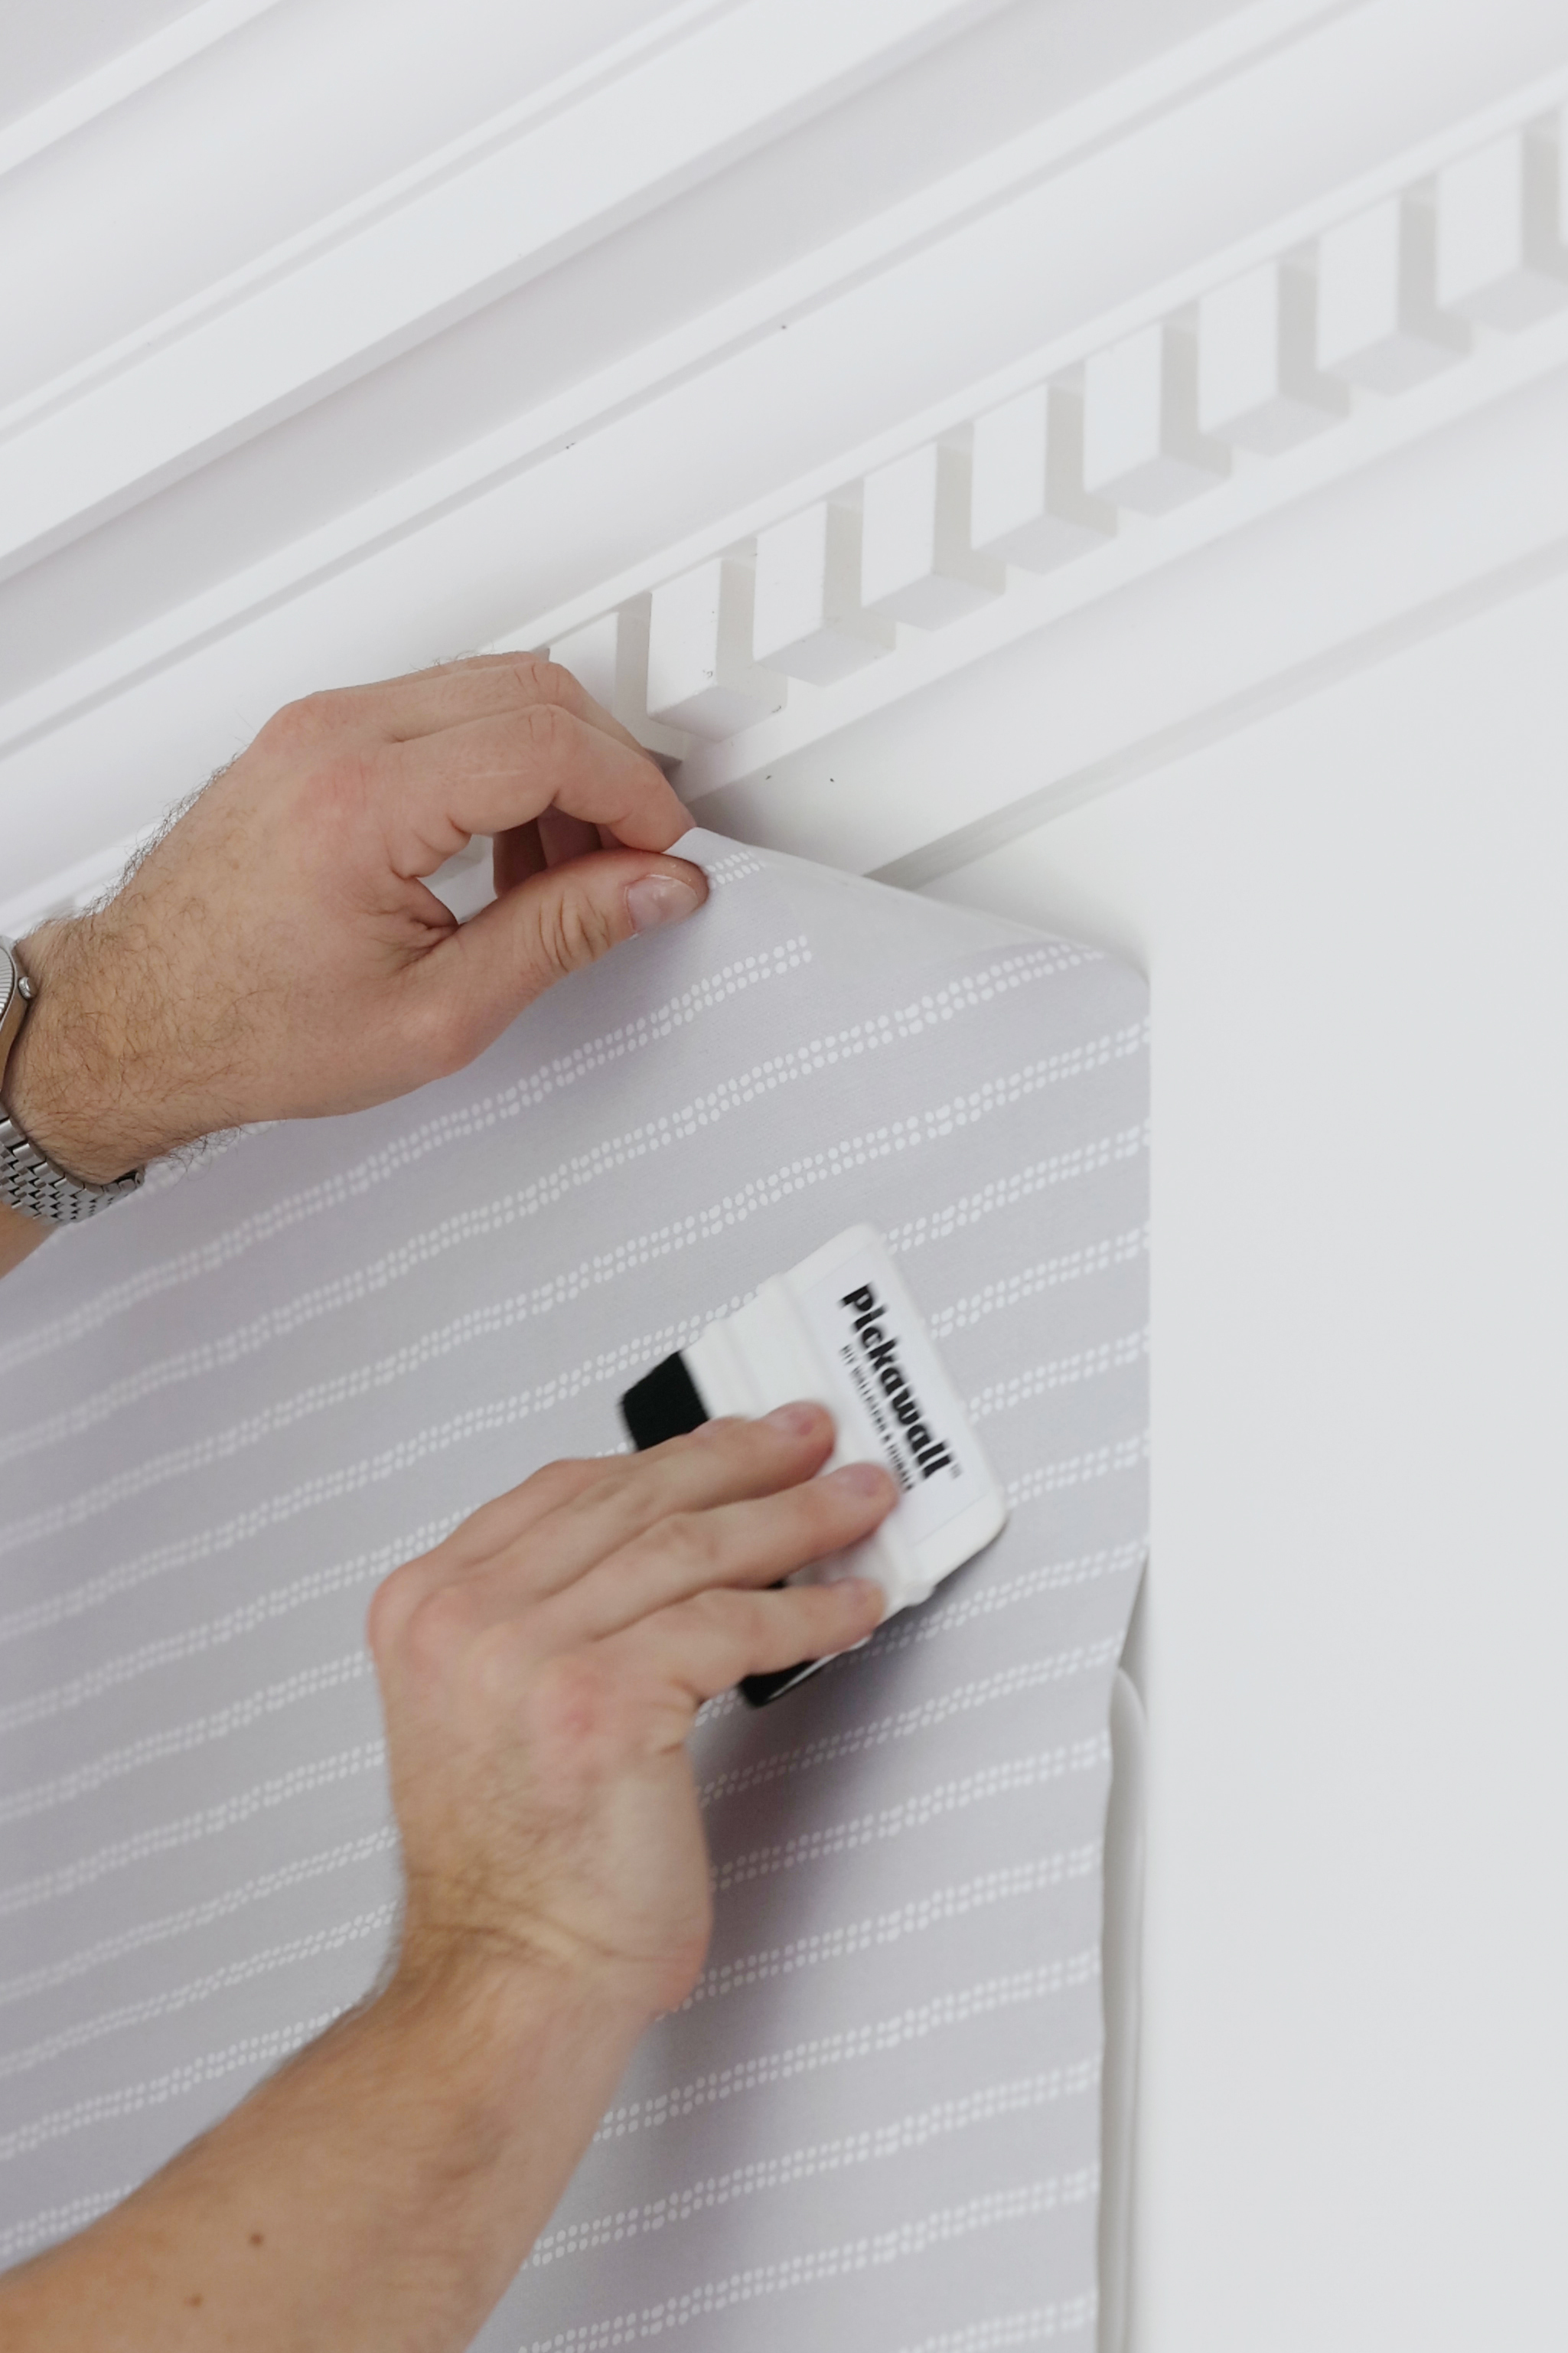
Apply
Slowly peel the backing while smoothing the panel onto the wall. Work down and outwards to push out bubbles.
Smooth out
Gently rub out bubbles or wrinkles. If they don't move, lift the area and re-apply.
Continue
Apply each panel like Panel 1 — vertical drops have a 10 mm overlap. Use the top, centre and bottom indicators to align.
Finish
Use a sharp knife to remove any excess. Aim for around 25 mm of trim at the base and end panel.
Pro tip
Six quick steps to wrap around switches and outlets cleanly — then refit the plate when you're done.
Unscrew and lift off every switch plate before you start. Keep the screws somewhere safe.
Firmly smooth the wallpaper into the top edge of the switch so it creases cleanly.
Make a small criss-cross incision in the centre of the switch with a sharp blade.
Carefully extend each incision out to the inside edge of the switch on every diagonal.
Firmly seal the wallpaper to the edge of the switch, all the way around the perimeter.
Carefully trim any extra wallpaper around the switch — then screw the plate back on.
Remove & Reuse Guide
Pickawall's self-adhesive fabric is repositionable and reusable. Whether you're moving house, changing rooms, or just trying a new look — your wallpaper can come with you.
Still have questions?
We've got you covered
Browse the most common questions in our FAQ, or get in touch and we'll talk you through it.